
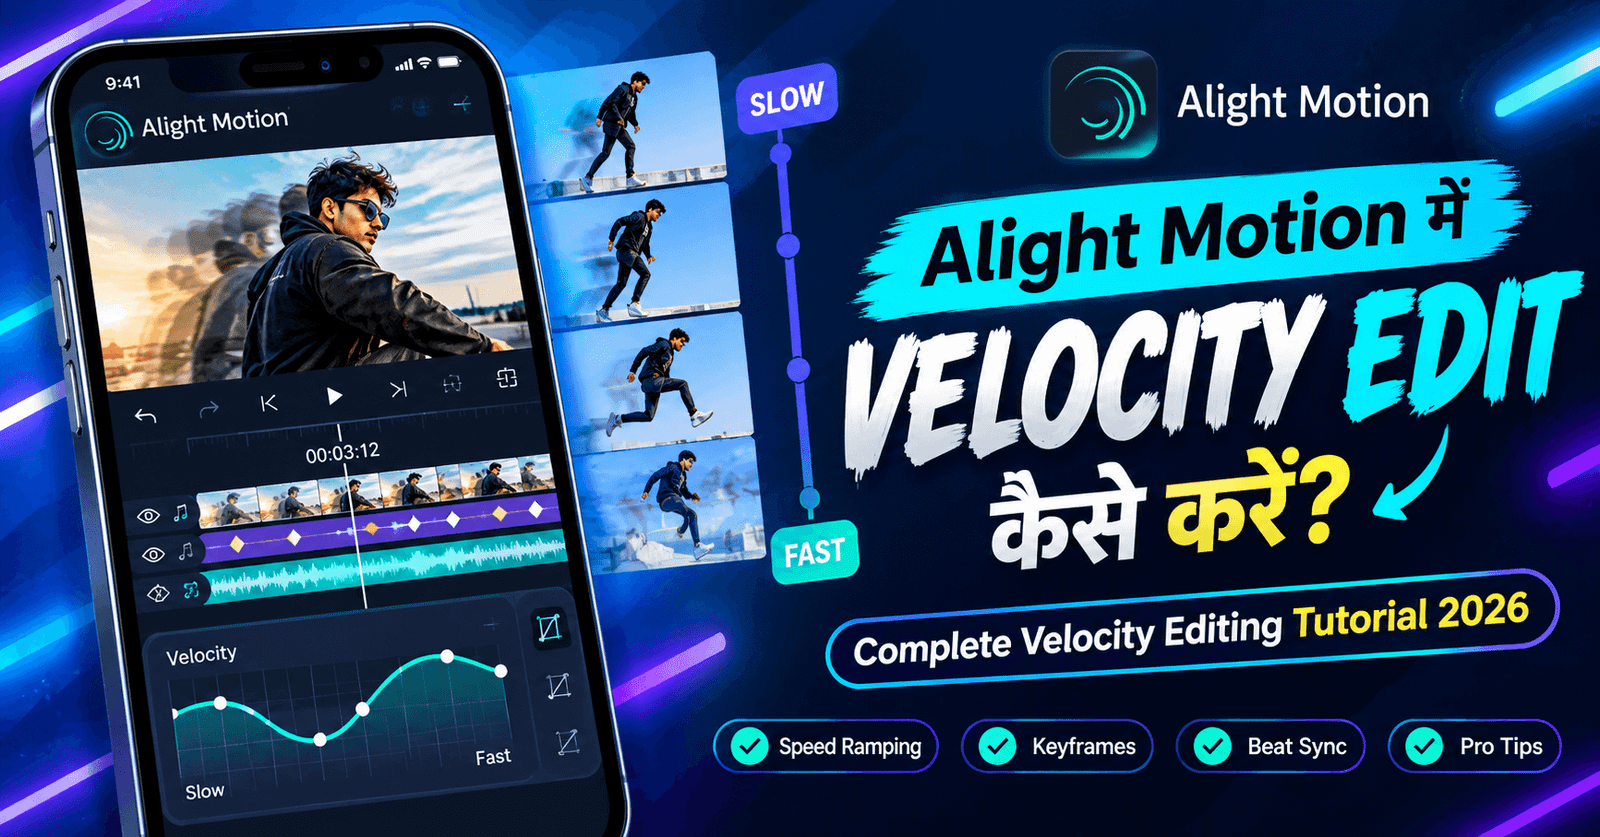
Alight Motion में Velocity Edit कैसे करें? Complete Velocity Editing Tutorial 2026

यार, एक सच बताता हूं जो ज़्यादातर लोगों को पता नहीं होता।
Instagram Reels या YouTube Shorts पर वो edits देखे हैं जहाँ video अचानक slow होती है, फिर beat drop पर तेज़ी से snap करती है, साथ में shake aur zoom का effect — और पूरा clip एकदम professional लगता है? वो कोई ₹50,000 वाला software नहीं है। वो Alight Motion में बना Velocity Edit है, जो एक mobile phone से ही होता है।
और सबसे अच्छी बात — ये सीखने में उतना मुश्किल नहीं जितना दिखता है।
ज़्यादातर beginners यहीं अटक जाते हैं क्योंकि उन्हें Time Remap का concept समझ नहीं आता, keyframes कहाँ लगाने हैं पता नहीं चलता, और edit beat के साथ sync नहीं होता — result में edit “cheap” लगता है।
आज इस tutorial में मैं तुम्हें Alight Motion Velocity Edit का पूरा process step-by-step बताऊंगा — Time Remap से लेकर shake, zoom, color grading और export settings तक। Complete tutorial। चलो शुरू करते हैं।
Velocity Edit Kya Hai?
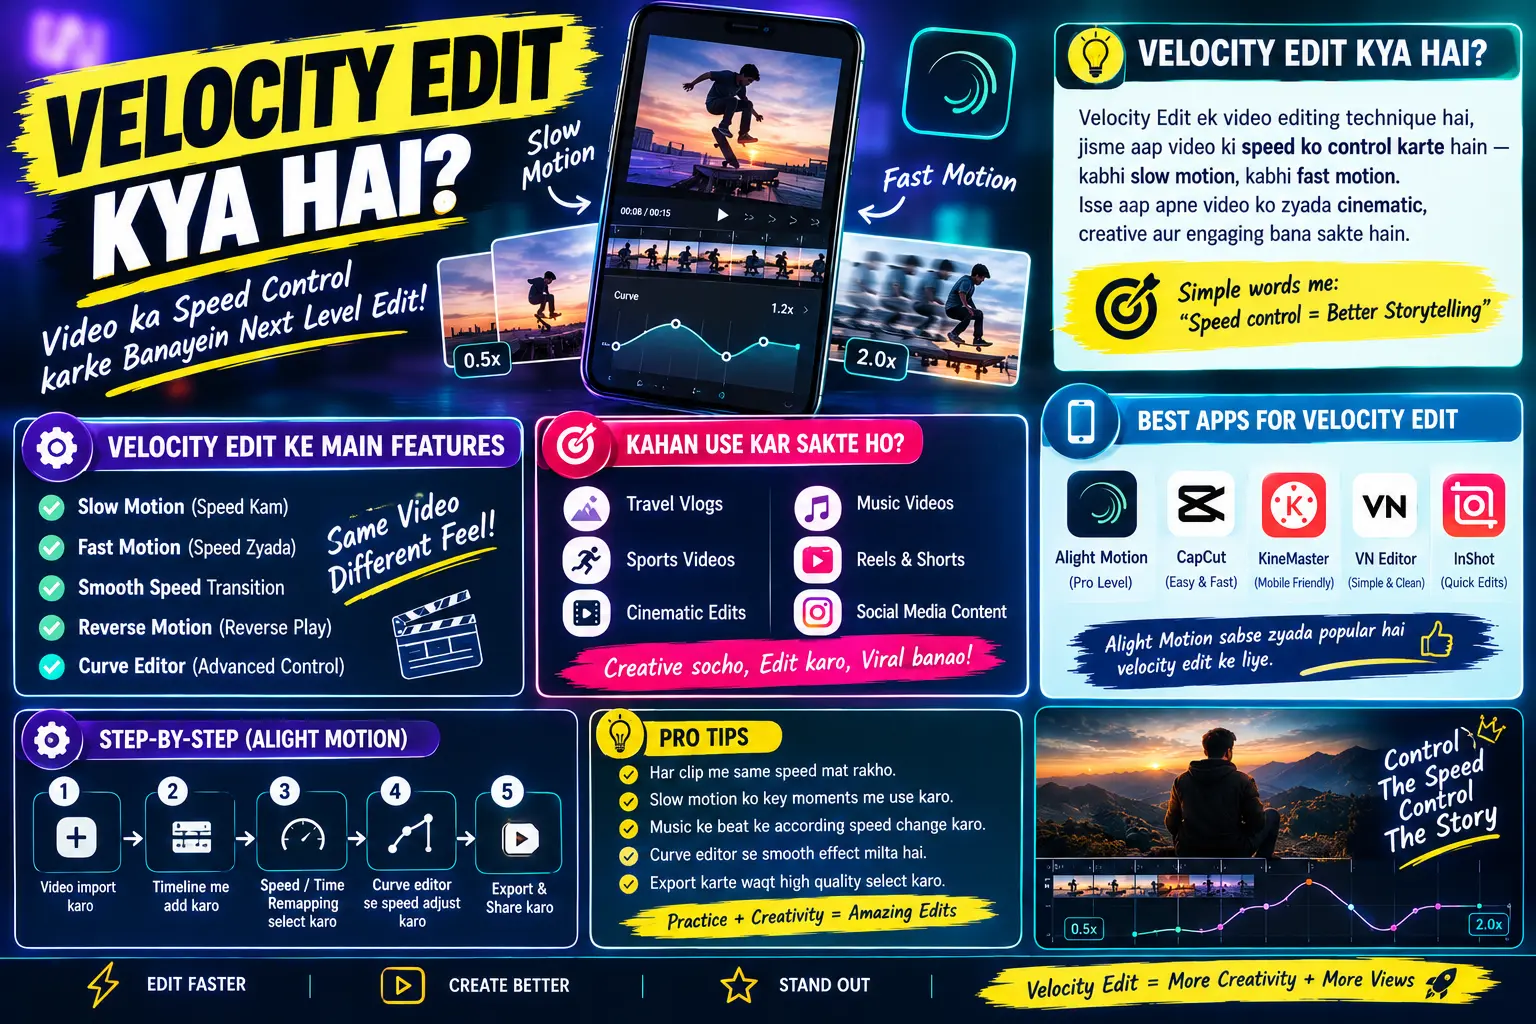
Velocity Edit एक editing technique है जिसमें video की speed को अलग-अलग points पर change किया जाता है — कहीं slow, कहीं fast — ताकि video music की beat के साथ sync हो जाए।
speed को अलग-अलग moments पर तेज और धीमा किया जाता है। यानी पूरे clip को एक ही speed पर चलाने के बजाय, important beat या action के हिसाब से Slow Motion → Fast → Slow Motion जैसा speed transition बनाया जाता है।
Normal Video = Ek Hi Speed Par Chalti Hai (1x)

Velocity Edit = Speed Continuously Change Hoti Hai
Beat Se Pehle → Slow (0.2x - 0.5x)
Beat Par → Sudden Fast (2x - 5x)
Beat Ke Baad → Wapas Slow
Velocity Edit में क्या-क्या इस्तेमाल होता है?
- 🎯 Keyframes — speed के अलग-अलग points control करने के लिए
- ⚡ Speed Ramping — fast और slow sections बनाने के लिए
- 📈 Velocity/Graph — speed transition को smooth बनाने के लिए
- 🎵 Beat Sync — music के beat पर speed change करने के लिए
- 🎬 Motion Blur — fast movement को ज्यादा natural दिखाने के लिए
सबसे बड़ी बात: Velocity edit की जान है timing — अगर speed change music की beat के exact moment पर हो, तो edit बहुत satisfying लगता है। और अगर timing थोड़ी भी off हो, तो पूरा effect बेकार लगने लगता है।
Velocity Edit Kaise Kaam Karta Hai
इसके पीछे का concept समझना ज़रूरी है, वरना keyframes लगाना सिर्फ guesswork बन जाएगा।
Alight Motion में Velocity Edit को आमतौर पर Speed Ramping या Velocity Graph की मदद से बनाया जाता है। इससे normal footage ज्यादा dynamic, smooth और cinematic दिखाई दे सकती है।
Example:
अगर किसी व्यक्ति के walking या dance clip में पहले movement slow हो, फिर beat पर अचानक fast हो और अगले moment में फिर slow हो जाए—तो यह एक basic Velocity Edit है।
Velocity Edit Ka Core = Time Remap

Time Remap Kya Karta Hai:
Ye Video Ke "Time" Ko Control Karne Deta Hai
Yani Tum Decide Kar Sakte Ho Ki Kis Second Par
Video Ka Kaunsa Frame Dikhega
Kaise Speed Change Hoti Hai:
Do Keyframes Ke Beech Kam Time Gap + Zyada Frame Gap = FAST
Do Keyframes Ke Beech Zyada Time Gap + Kam Frame Gap = SLOW
Simple समझो: अगर तुम 1 second में video के 5 seconds का content दिखाओगे, तो वो 5x fast लगेगा। और अगर 5 seconds में सिर्फ 1 second का content दिखाओगे, तो वो slow-motion बन जाएगा। यही पूरा Time Remap का logic है।
Alight Motion Me Kya-Kya Chahiye
Edit शुरू करने से पहले ये चीज़ें ready होनी चाहिए। or Complete Alight motion tutorial ke liye yha click kare
Requirements:
- Alight Motion App (Play Store/App Store se)
- Ek Achi Quality Ki Video Clip (Minimum 1080p)
- Beat-Heavy Music/Audio (Jisme clear beat drops hon)
- Thoda Patience (Pehla edit time lega, ye normal hai)
Free vs Pro: Free version में watermark आता है और कुछ advanced effects limited होते हैं, लेकिन Time Remap aur basic velocity editing free version में भी possible है। इसलिए शुरुआत करने के लिए Pro ज़रूरी नहीं।
Clip Selection Tip: Velocity edit के लिए वो clips सबसे अच्छे लगते हैं जिनमें कोई motion हो — walking, turning, camera pan, ya koi action। Bilkul still clip par velocity edit का असर कम दिखता है।
Step 1: Video Import Aur Project Setup
Step 1: Alight Motion Open Karo
Step 2: "+" Button Par Tap Karke New Project Banao
Step 3: Aspect Ratio Choose Karo
        (9:16 Reels/Shorts Ke Liye, 16:9 YouTube Ke Liye)
Step 4: Frame Rate Set Karo — 60 FPS Recommended
Step 5: Project Create Karo
Step 6: "+" Se Apni Video Clip Import Karo
Important — 60 FPS क्यों: Velocity edit में video को fast aur slow दोनों करना होता है। अगर project 30 FPS पर है, तो slow-motion में video choppy दिखेगी। 60 FPS रखने से slow parts भी smooth रहते हैं। अगर तुम्हारी original clip 60 FPS पर shoot हुई है, तो result और भी better होगा।
Step 2: Audio Add Karo Aur Beats Mark Karo
Velocity edit में पहले audio, फिर video — ये order बहुत ज़रूरी है।
Step 1: Timeline Mein "+" → Audio → Apna Music Select Karo
Step 2: Music Ka Wo Part Choose Karo Jisme Beat Drop Ho
Step 3: Audio Ko Play Karke Sunо, Aur Note Karo Ki
        Beat Kis-Kis Second Par Aa Rahi Hai
Step 4: Un Points Par Timeline Mein Marker Laga Do
        (Ya Screen Par Note Kar Lo)
Pro Tip: Beat find करने का सबसे आसान तरीका — audio का waveform देखो। Waveform में जहाँ बड़ी spike दिखती है, आमतौर पर वहीं beat होती है। इन spikes को note करके keyframes की planning करना बहुत आसान हो जाता है।
Step 3: Time Remap Enable Karna
यही वो सबसे important step है जहाँ ज़्यादातर beginners अटकते हैं।
Step 1: Timeline Mein Apni Video Layer Par Tap Karo
Step 2: Neeche "Time" Ya "Speed" Option Dhundo
Step 3: "Time Remap" Ko Enable/Turn On Karo
Step 4: Ab Tumhe Ek Naya Time Remap Graph/Track Dikhega
Time Remap On Hone Ke Baad Kya Hota Hai:
Ab Tum Har Point Par Decide Kar Sakte Ho
Ki Video Ka Kaunsa Part Kab Play Hoga —
Yani Speed Ka Poora Control Tumhare Haath Mein
अगर Time Remap नहीं दिख रहा: पहले confirm करो कि तुमने video layer select की है (audio ya text layer नहीं)। कुछ versions में ये option “Speed” menu के अंदर ही मिलता है।
Step 4: Keyframes Lagana — Step By Step
अब असली velocity effect बनाते हैं — keyframes के through।
Basic Velocity Pattern:
Keyframe 1 (0.0s) → Video Ka Starting Point
Keyframe 2 (Beat Se Thoda Pehle) → Slow Motion Effect
Keyframe 3 (Exact Beat Par) → Sudden Jump (Fast Speed)
Keyframe 4 (Beat Ke Baad) → Wapas Slow
Practical Steps:
Step 1: Playhead Ko 0 Second Par Le Jao → Keyframe Add Karo
Step 2: Playhead Ko Beat Se 0.3-0.5 Second Pehle Le Jao
        → Keyframe Add Karo (Yahan Video Slow Hogi)
Step 3: Playhead Ko Exact Beat Par Le Jao
        → Keyframe Add Karo Aur Value Ko Aage Badhao (Fast Snap)
Step 4: Beat Ke 0.2-0.3 Second Baad Ek Aur Keyframe
        → Value Kam Karke Wapas Slow Karo
Step 5: Har Beat Ke Liye Yehi Pattern Repeat Karo
Real Baat: पहली बार में timing perfect नहीं होगी — ये बिल्कुल normal है। हर keyframe लगाने के बाद preview चलाकर देखो और keyframe को थोड़ा left-right adjust करके exact beat पर fit करो। Professional editors भी यही करते हैं, बस उन्हें practice से जल्दी समझ आ जाता है।
Step 5: Beat Par Sync Kaise Kare
Sync ही velocity edit को professional बनाता है — यहाँ कुछ techniques हैं।
Sync Karne Ke Tarike:
1. Waveform Dekh Kar — spike par keyframe lagao
2. Audio Loop Karke Sunо — beat ka exact moment feel karo
3. Frame-By-Frame Check — playhead ko manually slide karke dekho
4. Slow Playback — preview ko slow karke timing verify karo
Golden Rule: Speed का सबसे fast point exact beat drop पर होना चाहिए, उससे एक frame पहले या बाद नहीं। एक frame का difference भी edit को “थोड़ा off” feel करा देता है — इसलिए यहाँ थोड़ा extra time देना worth it है।
Step 6: Smooth Velocity Curves (Easing)
अगर keyframes को सीधा छोड़ दो, तो speed change jerky लगती है। Smooth करने के लिए easing लगानी पड़ती है।
Step 1: Kisi Bhi Keyframe Par Tap Karo
Step 2: Easing/Interpolation Option Select Karo
Step 3: "Ease In Out" Ya "Smooth" Choose Karo
Step 4: Graph Mein Curve Ko Adjust Karo Agar Zaroorat Ho
| Easing Type | Effect |
|---|---|
| Linear | Speed ekdum machine jaisi, thodi robotic lagti hai |
| Ease In | Dheere shuru hoke tez hoti hai |
| Ease Out | Tez shuru hoke dheere hoti hai |
| Ease In Out | Dono taraf smooth — velocity edit ke liye best |
Suggestion: ज़्यादातर velocity edits में Ease In Out सबसे natural लगता है। लेकिन beat drop वाले keyframe पर थोड़ा sharp easing रखना ज़्यादा impactful लगता है — क्योंकि वहाँ sudden snap चाहिए, smooth transition नहीं।
Step 7: Shake Effect Add Karna
Shake velocity edit की signature चीज़ है — beat drop पर camera shake का effect edit को बहुत dynamic बना देता है।
Manual Shake Banane Ka Tarika:
Step 1: Video Layer Select Karo → Position Property Kholo
Step 2: Beat Ke Exact Point Par Keyframe Lagao
Step 3: Agle 2-3 Frames Mein Position Ko Thoda Left/Right/Up/Down Karo
        (Har Frame Par Alag Direction Mein, Chhoti Values Mein)
Step 4: 4-5 Frames Ke Baad Position Wapas Original Par Le Aao
Shake Ke Liye Recommended Values:
Chhota Shake: 5-15 Pixels Ki Movement
Medium Shake: 15-30 Pixels
Heavy Shake: 30-50 Pixels (Sirf Bade Beat Drop Par)
Alternative — Preset Use Karna: Alight Motion में community presets भी available हैं (XML files के through import होते हैं) जिनमें ready-made shake effects होते हैं। लेकिन manual बनाना सीखने से तुम्हें full control मिलता है, aur har edit unique lagta hai।
Important: Shake हर जगह मत लगाओ — सिर्फ major beat drops पर। ज़्यादा shake edit को amateur बना देता है और देखने वाले की आँखों को थका देता है।
Step 8: Zoom/Punch Effect
Zoom effect beat के impact को और बढ़ा देता है।
Punch Zoom Kaise Banaye:
Step 1: Video Layer → Scale Property Kholo
Step 2: Beat Se Thoda Pehle Keyframe Lagao (Scale = 100%)
Step 3: Exact Beat Par Keyframe Lagao (Scale = 110-120%)
Step 4: Beat Ke 3-4 Frames Baad Keyframe Lagao (Scale = 100%)
Step 5: Easing Lagao Taaki Zoom Smooth Lage
Zoom Types:
Punch In → Beat Par Andar Zoom (Sabse Common)
Punch Out → Beat Par Bahar Zoom (Reveal Effect Ke Liye)
Slow Push → Poore Clip Mein Halka Sa Continuous Zoom
Pro Tip: Zoom aur Shake को same beat पर combine करने से effect double impactful हो जाता है — velocity snap + zoom punch + shake, तीनों एक साथ वही “professional edit” वाला feel देते हैं।
Step 9: Color Grading
Velocity edit सिर्फ speed के बारे में नहीं है — colors edit की quality में बड़ा फर्क डालते हैं।
Basic Color Grading Steps:
Step 1: Video Layer Select Karo → Effects Add Karo
Step 2: "Color Adjust" Ya "Curves" Effect Choose Karo
Step 3: Contrast Thoda Badhao (Depth Ke Liye)
Step 4: Saturation Badhao (Colors Pop Karne Ke Liye)
Step 5: Highlights/Shadows Adjust Karo
Popular Velocity Edit Looks:
Teal & Orange → Cinematic Look (Shadows Blue, Skin Tones Warm)
High Contrast B&W → Dramatic, Aesthetic Edits
Warm Vintage → Soft, Nostalgic Feel
Cold Blue Tone → Moody, Intense Edits
Suggestion: Color grading में ज़्यादा over-do मत करो — saturation को बहुत ज़्यादा बढ़ाने से video artificial लगने लगती है। Subtle grading हमेशा ज़्यादा professional लगती है।
Step 10: Glow, Chromatic Aberration Aur Motion Blur
ये तीन effects velocity edits को वो “premium” look देते हैं।
Glow Effect:
Effects → Glow → Intensity 20-40% Rakho
Ye Highlights Ko Soft Aur Cinematic Bana Deta Hai

Chromatic Aberration:
Effects → Chromatic Aberration (Ya RGB Shift)
Beat Drop Par Iski Value Badhao, Phir Wapas 0 Karo
Ye Glitch Jaisa Impact Deta Hai

Motion Blur:
Effects → Motion Blur
Fast Speed Wale Parts Mein Ye Smoothness Add Karta Hai
Important — Motion Blur: Velocity edit में fast parts अक्सर choppy लगते हैं। Motion Blur इसे काफी हद तक fix कर देता है — ये शायद velocity editing का सबसे underrated effect है।
Chromatic Aberration Tip: इसे सिर्फ beat drop के 2-3 frames में लगाओ, poore clip mein nahi — warna video dekhne mein irritating lagne lagti hai।
Step 11: Transitions Add Karna
अगर multiple clips use कर रहे हो, तो transitions भी velocity के साथ sync होनी चाहिए।
Popular Velocity Transitions:
Zoom Transition → Ek Clip Zoom In, Agli Clip Zoom Out Se Start
Spin Transition → Rotation Ke Saath Clip Change
Flash Transition → Beat Par Halka Sa White Flash
Shake Transition → Shake Ke Beech Mein Clip Change
Golden Rule: Transition हमेशा beat के exact moment पर होनी चाहिए, कभी बीच में नहीं। Transition का timing off होना edit की सबसे बड़ी mistake मानी जाती है।
Step 12: Export Settings
Edit कितना भी अच्छा हो, गलत export settings उसकी quality बर्बाद कर देती हैं।
| Setting | Recommended Value |
|---|---|
| Resolution | 1080p (Ya 4K Agar Source Clip 4K Ho) |
| Frame Rate | 60 FPS (Velocity Edits Ke Liye Zaroori) |
| Format | MP4 |
| Bitrate | Highest Available Option |
| Quality | High/Maximum |
Export Karne Se Pehle Check Karo:
- Pura Preview Ek Baar Dekho (Koi Keyframe Off Toh Nahi)
- Audio Sync Verify Karo
- Koi Watermark Ya Extra Layer Toh Nahi Reh Gayi
- Starting Aur Ending Clean Hai Ya Nahi
Important: 60 FPS पर export करना velocity edits के लिए लगभग compulsory है — 30 FPS पर slow-motion parts बहुत choppy दिखते हैं और सारी मेहनत बेकार लग सकती है।
Pro Tips — Edit Ko Next Level Par Le Jane Ke Liye
Tip 1: Har Beat Par Effect Mat Lagao
       Sirf Major Beats Par — Warna Edit Overloaded Lagta Hai

Tip 2: Reference Edits Dekho
       Instagram/YouTube Par Achhe Velocity Edits Dekho
       Aur Unka Timing Pattern Samjho

Tip 3: Short Clips Se Shuru Karo
       10-15 Second Ka Edit Pehle Perfect Karo,
       Phir Lambe Edits Try Karo

Tip 4: Presets Banao
       Jo Shake/Zoom Combination Pasand Aaye,
       Use Save Karke Reuse Karo — Time Bachta Hai

Tip 5: Original Clip Ki Quality Matter Karti Hai
       Low Quality Clip Par Kitni Bhi Editing Karo,
       Result Professional Nahi Lagega
Common Mistakes
❌ Mistake 1: Beat Ke Saath Sync Na Karna
✅ Fix: Har keyframe lagane ke baad preview karo aur frame-by-frame check karke exact beat par adjust karo — sync hi velocity edit ki jaan hai।
❌ Mistake 2: 30 FPS Project Banana
✅ Fix: Hamesha 60 FPS par project banao aur usi par export karo — warna slow-motion parts choppy dikhenge।
❌ Mistake 3: Bahut Zyada Shake Aur Effects Lagana
✅ Fix: Sirf major beat drops par effects lagao — kam effects ke saath clean edit hamesha zyada professional lagta hai।
❌ Mistake 4: Easing Na Lagana
✅ Fix: Keyframes par “Ease In Out” lagao — bina easing ke speed change robotic aur jerky lagti hai।
❌ Mistake 5: Still Ya Low-Motion Clips Use Karna
✅ Fix: Aisi clips choose karo jinme movement ho (walking, turning, camera pan) — velocity effect tabhi visible hota hai।
❌ Mistake 6: Over-Saturated Color Grading
✅ Fix: Subtle grading karo — saturation ko bahut zyada badhane se video artificial aur amateur lagti hai।
Velocity Edit Myths
| Myth | Sach |
|---|---|
| “Velocity edit ke liye Pro version zaroori hai” | ❌ Galat — Time Remap aur basic velocity free version mein bhi possible hai |
| “Velocity edit sirf presets se hota hai” | ❌ Galat — manual keyframes se hi asli control aur unique edits bante hain |
| “Zyada effects = better edit” | ❌ Galat — clean, well-synced edit hamesha zyada professional lagta hai |
| “Laptop ke bina professional edit nahi ban sakta” | ❌ Galat — Alight Motion se mobile par hi professional-level edits bante hain |
| “Ek din mein velocity editing seekh sakte ho” | ❌ Galat — basics ek din mein samajh aa jaate hain, lekin timing ki mastery practice se aati hai |
Conclusion
यार, Alight Motion Velocity Edit सीखना उतना मुश्किल नहीं है जितना पहली बार देखने पर लगता है। पूरा concept सिर्फ दो चीज़ों पर टिका है — Time Remap और beat timing। बाकी सारे effects (shake, zoom, glow, color grading) तो सिर्फ उसे और polish करते हैं।
Key Takeaways:
✅ Time Remap velocity edit ka core hai
✅ Hamesha 60 FPS par project banao aur export karo
✅ Pehle audio add karo, phir uski beats par keyframes lagao
✅ Easing (Ease In Out) se speed change smooth banao
✅ Shake aur Zoom sirf major beat drops par lagao
✅ Motion Blur fast parts ko smooth banata hai — isse skip mat karo
✅ Practice hi sabse bada factor hai, pehla edit perfect nahi hoga
पहला step — आज ही एक 10 second की clip लो, कोई beat-heavy music add करो, aur sirf Time Remap ke saath ek simple velocity edit try karo. Effects बाद में add करना, पहले timing पर focus करो।
FAQs
1. Alight Motion Velocity Edit Kya Hai?
Velocity Edit एक technique है जिसमें Time Remap के through video की speed को अलग-अलग points पर change किया जाता है, ताकि video music की beat के साथ sync होकर dynamic लगे।
2. Kya Velocity Edit Free Version Mein Ho Sakta Hai?
हां, Time Remap aur basic velocity editing Alight Motion के free version में भी possible है। Free version में सिर्फ watermark आता है और कुछ advanced effects limited होते हैं।
3. Velocity Edit Ke Liye Kitni FPS Best Hai?
60 FPS सबसे better रहती है, क्योंकि velocity edit में slow-motion parts होते हैं जो 30 FPS पर choppy दिखते हैं।
4. Time Remap Option Nahi Mil Raha, Kya Kare?
पहले confirm करो कि तुमने video layer select की है (audio ya text layer नहीं)। कुछ versions में ये option “Speed” menu के अंदर मिलता है।
5. Velocity Editing Seekhne Mein Kitna Time Lagta Hai?
Basics 1-2 दिन में समझ आ जाते हैं, लेकिन beat timing और smooth curves की mastery के लिए कुछ हफ्तों की regular practice चाहिए — 10-15 edits बनाने के बाद काफी confidence आ जाता है।