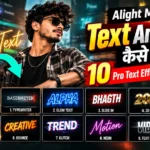
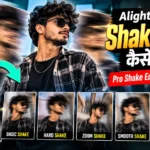










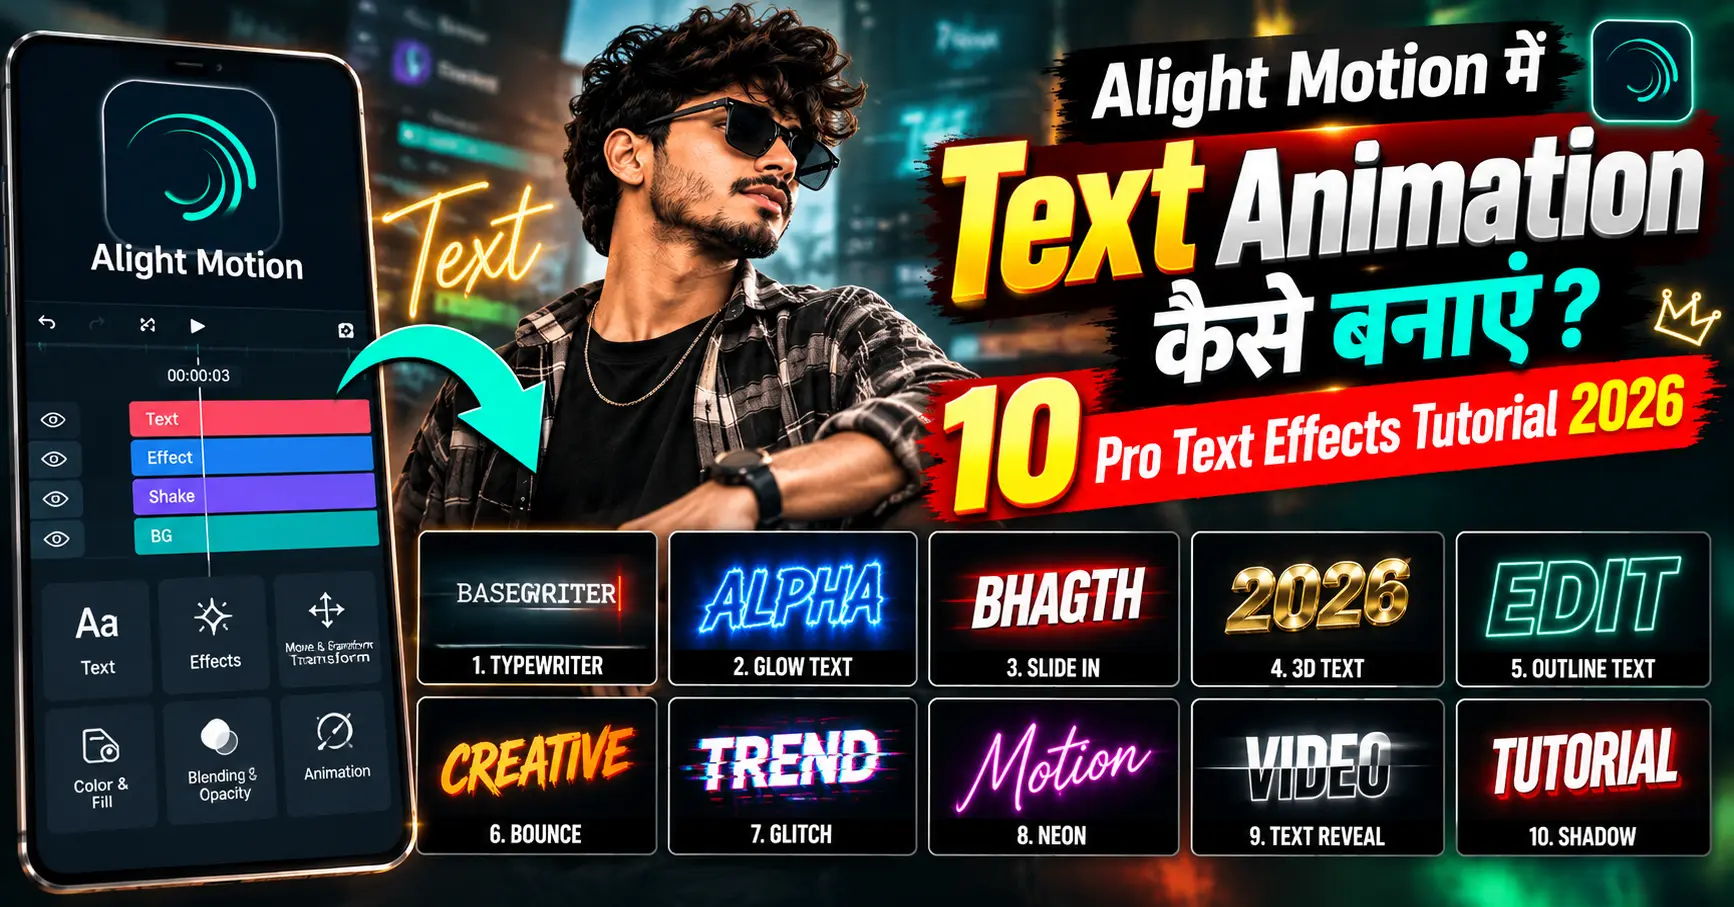
जब तुम किसी का Instagram Reel या YouTube Short देखते हो — और text screen पर एक cool style में animate होता है — तुम्हारे मन में क्या आता है? “यार, यह कैसे बनाया होगा? और जवाब है — Alight Motion।
India में सबसे popular mobile video editing app है Alight Motion — और इसमें text animation बनाना उतना hard नहीं जितना लगता है।
आज इस guide में मैं तुम्हें 10 Pro Text Effects step-by-step सिखाऊंगा — Typewriter से Neon Glow तक, Glitch से Kinetic Typography तक।
इन effects को सीखने के बाद तुम्हारे videos, Reels, और Shorts का level completely different होगा।
चलो शुरू करते हैं।
Alight Motion Kya Hai? — Quick Overview
Alight Motion एक professional-grade mobile video editing और motion graphics app है।
| Detail | Information |
|---|---|
| Platform | Android + iOS |
| Price | Free (watermark) + Pro (₹350/month approx) |
| Best For | Text animations, motion graphics, video editing |
| File Format | Export: MP4, GIF, MOV |
| Layer System | Multiple layers (like Premiere Pro) |
Alight Motion Text Animation क्यों Best है:
- Keyframe animation — precise control
- Multiple effects built-in
- Layer-based editing — professional workflow
- Expression support — advanced animations
- Export high quality 4K
App Download: Play Store → “Alight Motion” → Install
Text Animation Basics — Before Starting
यह section skip मत करना — यह foundation है।
Alight Motion Interface Samjho
Top Bar: Project name, Undo/Redo, Export
Timeline: नीचे layers और keyframes
Viewport: Center में preview
Properties Panel: Right side — effects, transforms
Add Button (+): New layers add करने के लिए
Keyframe Kya Hota Hai?
Keyframe = Animation का turning point

Example:
Second 0: Text position X = 0
Second 1: Text position X = 500

Result: Text 0 से 500 तक smooth move करेगा

यही है animation का magic!
Basic Text Layer Add Karna
Step 1: (+) button tap करो
Step 2: "Text" select करो
Step 3: Text type करो
Step 4: Font, size, color customize करो
Step 5: OK tap करो

Text layer timeline में दिखेगी
Properties Panel — Key Options
Transform:
→ Position (X, Y) — location
→ Scale — size
→ Rotation — angle
→ Opacity — transparency

Fill:
→ Color
→ Gradient
→ Texture

Stroke:
→ Outline color
→ Outline thickness

Shadow:
→ Drop shadow
→ Glow
Effect 1: Typewriter Text Animation ⭐
यह सबसे popular text animation है — perfect for Reels और educational content।
जैसे text एक-एक character type होता है — keyboard पर।
Step-by-Step Process
Step 1: New Project बनाओ
Alight Motion open करो
New Project → 1080×1920 (Vertical for Reels)
या 1920×1080 (Horizontal for YouTube)
Duration: 5-10 seconds
Step 2: Background Add करो
(+) → Shape → Rectangle
Full canvas cover करो
Color: Dark background (black/dark blue) choose करो
Step 3: Text Layer Add करो
(+) → Text
Type: "BaseGrower" या अपना text
Font: Bold font choose करो (Bebas Neue, Montserrat Bold)
Color: White या bright color
Size: Large — screen का 60-70% width
Step 4: Typewriter Effect Apply करो
Text layer select करो
Properties → Effects → Text Effects → "Typewriter"

Settings:
→ Speed: Medium (0.1-0.2 per character)
→ Cursor: On/Off (cursor blink effect)
→ Delay: 0.5 seconds (video शुरू होने के बाद)
Step 5: Cursor Blink Add करो (Optional)
New text layer: "|" (cursor symbol)
Position: Text के end में
Opacity keyframes:
→ 0s: Opacity 100%
→ 0.5s: Opacity 0%
→ 1s: Opacity 100%
(Loop करो)
Step 6: Sound Effect Add करो
(+) → Audio → Type sound effect import करो
Free typing sounds: Freesound.org
Sync: Each character के साथ
Result: Professional typewriter effect जो viewers को engage रखता है।
Effect 2: Glitch Text Effect ⭐⭐
YouTube thumbnails और gaming content के लिए perfect।
Text में digital glitch effect — जैसे screen corrupt हो रही हो।
Step-by-Step Process
Step 1: Base Text बनाओ
Background: Dark (black preferred)
Text: "GLITCH" या अपना text
Color: White
Font: Bold block font
Step 2: Text को 3 बार Duplicate करो
Text layer → Long press → Duplicate (2 copies)
Total: 3 identical text layers
Step 3: Colors Change करो
Layer 1 (Bottom): White (original)
Layer 2 (Middle): Cyan (#00FFFF) — Blend mode: Screen
Layer 3 (Top): Red/Magenta (#FF00FF) — Blend mode: Screen
Step 4: Position Keyframes Add करो
Layer 2 (Cyan):
→ Frame 1: X position +5px
→ Frame 3: X position -3px
→ Frame 5: X position +2px
→ Frame 7: X position 0

Layer 3 (Red):
→ Frame 1: X position -5px
→ Frame 3: X position +4px
→ Frame 5: X position -2px
→ Frame 7: X position 0

(Random position shifts = Glitch effect)
Step 5: Opacity Flicker Add करो
Random frames पर:
→ Opacity 100% → 0% → 100%
(Very quick — 1-2 frames)

यह digital corruption feel देता है
Step 6: Noise Effect Add करो
Effects panel → "Noise" या "Grain"
Amount: Medium
Type: Color noise

यह overall glitch feel complete करता है
Pro Tips:
→ Sound effect add करो (electrical buzz/static)
→ Duration: 2-3 seconds (short and impactful)
→ Thumbnail के लिए single frame export करो
Effect 3: Neon Glow Text ⭐⭐
Night vibes, gaming content, और dark theme videos के लिए perfect।
Step-by-Step Process
Step 1: Dark Background
Background: Pure black (#000000)
या: Dark city scene image
Step 2: Text Layer
Text: Your content
Font: Thin या script font (contrast के लिए)
Color: Bright neon color:
→ Neon Pink: #FF10F0
→ Neon Blue: #00F5FF
→ Neon Green: #39FF14
→ Neon Yellow: #FFFF00
Step 3: Glow Effect Apply करो
Text layer → Effects → Glow

Settings:
→ Color: Same as text color
→ Radius: 15-25px
→ Intensity: 70-90%
→ Spread: Medium

Apply multiple glow layers (2-3 times) for stronger effect
Step 4: Outer Glow (Bloom Effect)
Text duplicate करो
Original: Normal text
Duplicate: Gaussian Blur → High blur
Duplicate opacity: 60-70%
Blend mode: Screen

Result: Soft outer glow blooming effect
Step 5: Flicker Animation
Glow Intensity keyframes:
→ 0s: 90%
→ 0.3s: 60%
→ 0.5s: 95%
→ 0.8s: 70%
→ 1s: 90%

यह real neon sign flicker simulate करता है
Step 6: Reflection (Optional)
Text duplicate करो
Flip vertically
Position: Text के नीचे
Opacity: 20-30%
Gaussian Blur: Light blur

Result: Floor reflection effect
Effect 4: 3D Rotate Text
Mind-blowing entry effect — viewers रुक जाते हैं।
Step-by-Step Process
Step 1: Text Setup
Text layer create करो
Position: Center of screen
Size: Large
Font: Bold
Step 2: 3D Rotation Keyframes
Start State (0 seconds):
→ Scale X: 0% (flat — invisible)
→ Opacity: 0%

End State (0.5 seconds):
→ Scale X: 100% (full width)
→ Opacity: 100%

Result: Text appears to rotate from edge-on position
Step 3: Multiple Axis Rotation
For more realistic 3D:

Keyframe 1 (0s): Scale X: 0%, Scale Y: 80%
Keyframe 2 (0.3s): Scale X: 100%, Scale Y: 110% (slight overshoot)
Keyframe 3 (0.5s): Scale X: 100%, Scale Y: 100%

Overshoot = Elastic, bouncy feel
Step 4: Easing Add करो
हर keyframe पर:
→ Long press keyframe
→ Easing: "Ease Out" for entry
→ Easing: "Ease In" for exit

Easing = Smooth, professional animation feel
Step 5: Shadow Add करो
Drop Shadow effect add करो:
→ X Offset: 5px
→ Y Offset: 10px
→ Blur: 15px
→ Color: Black with 50% opacity

Shadow = Depth illusion = Realistic 3D feel
Effect 5: Bounce/Pop Text ⭐
Call-to-actions और subscribe buttons के लिए perfect
Step-by-Step Process
Step 1: Text Setup
Text: "Subscribe!" या "Like This!" या अपना CTA
Color: Bright, attention-grabbing
Font: Bold, heavy
Step 2: Bounce Keyframes
Scale keyframes (Y-axis):

0s: Scale 0% (invisible)
0.1s: Scale 120% (overshoot)
0.2s: Scale 90% (compress)
0.3s: Scale 105% (small bounce)
0.4s: Scale 100% (settle)

यह realistic ball bounce physics simulate करता है
Step 3: Position Bounce
Y Position keyframes:
0s: Y = -100px (above screen)
0.15s: Y = 10px (slightly below final)
0.25s: Y = -5px (small bounce up)
0.35s: Y = 0 (final position)
Step 4: Color Pop
Text color:
0s: White
0.2s: Yellow (peak bounce)
0.4s: Original color

Quick color flash = Extra impact
Step 5: Sound Effect
Bounce sound sync करो:
→ Woosh sound on entry
→ Pop/thud sound on landing

Freesound.org से free sounds
Effect 6: Fade In/Out Text
Elegant और clean — professional looking।
Step-by-Step Process
Fade In:
Opacity Keyframes:
0s: 0% (invisible)
0.5s: 100% (fully visible)

Position (optional):
0s: Y = +20px (slightly below)
0.5s: Y = 0 (final position)

Combined: Fade up effect
Fade Out:
At text exit:
0s: 100% opacity
0.5s: 0% opacity

Position (optional):
0s: Y = 0
0.5s: Y = -20px (fade up and disappear)
Advanced: Staggered Word Fade
Multiple word layers:
Word 1: Fade in at 0s
Word 2: Fade in at 0.2s
Word 3: Fade in at 0.4s
Word 4: Fade in at 0.6s

Each word slightly delayed = Cinematic reveal effect
Effect 7: Kinetic Typography ⭐⭐⭐
यह सबसे impressive effect है — words music के साथ move करते हैं।
Music lyrics videos, motivational content के लिए best।
Step-by-Step Process
Step 1: Audio Import करो
(+) → Audio → Music file import
Free music: YouTube Audio Library
Choose: Energetic beat with clear rhythm
Step 2: Audio Waveform देखो
Timeline में audio layer दिखेगी
Beats identify करो (peaks in waveform)
Note करो किस second पर beat है
Step 3: Text Layers Plan करो
Script: "YOU ARE UNSTOPPABLE"
एक word = एक layer

Layer 1: "YOU"
Layer 2: "ARE"
Layer 3: "UNSTOPPABLE"
Step 4: Each Word का Timing Set करो
Beat 1 (0s): "YOU" appears
Beat 2 (0.5s): "ARE" appears
Beat 3 (1s): "UNSTOPPABLE" appears

Each word's animation: Quick scale pop (0.1s)
→ Scale 0% to 120% to 100%
Step 5: Movement on Beat
On each beat:
→ Scale slight pulse: 100% → 105% → 100%
→ Color flash: Normal → Bright → Normal
→ Position micro-shake: 0 → ±3px → 0
Step 6: Exit Animation
Each word exits on next major beat:
→ Quick scale down (0.1s)
→ या fade out
या
→ Slide off screen
Pro Tips:
→ Contrast: Key words bigger/brighter
→ Color code: Different words different colors
→ Speed matches music energy
→ High energy song = Faster animations
→ Emotional song = Slower, fades
Effect 8: Split Text Animation
Modern और cinematic — Instagram worthy।
Step-by-Step Process
Step 1: Text Setup
Text: Your word/phrase
Font: Clean, bold
Color: White
Position: Center
Step 2: Text को 2 Halves में Split करो
Method:
→ Duplicate text layer (2 copies)
→ Layer 1: Crop top half (mask)
→ Layer 2: Crop bottom half (mask)

Using Masks:
→ Layer → Mask → Rectangle mask
→ Crop accordingly
Step 3: Split Animation
Entry (Coming Together):
Layer 1 (top): Start Y = -50px, end Y = 0
Layer 2 (bottom): Start Y = +50px, end Y = 0
Duration: 0.4s, Ease Out

Exit (Splitting Apart):
Layer 1 (top): Start Y = 0, end Y = -80px
Layer 2 (bottom): Start Y = 0, end Y = +80px
Duration: 0.3s, Ease In
Step 4: Color on Impact
When text comes together (meeting point):
→ Brief white flash
→ Color shift
→ Glow pulse

Impact = Visual impact!
Effect 9: Outline/Stroke Text Effect
Stylish और versatile — thumbnails के लिए भी great।
Step-by-Step Process
Step 1: Two Text Layers
Layer 1 (Background):
→ Same text
→ Fill: None (transparent)
→ Stroke: Thick (5-10px)
→ Stroke Color: Bright accent color

Layer 2 (Foreground):
→ Same text
→ Fill: White
→ Stroke: None
Step 2: Animated Stroke Draw Effect
"Draw On" Effect:
Stroke opacity keyframes:
0s: 0% (invisible)
1s: 100% (fully visible)

Fill opacity keyframes:
0s: 0%
1.2s: 0% (starts after stroke)
1.5s: 100% (text fills in)

Effect: Outline draws → Then fills
Step 3: Stroke Dash Animation
Animated stroke:
→ Stroke Dash Offset keyframe
→ Start: Full offset (invisible)
→ End: 0 offset (fully drawn)

This creates "writing" effect for stroke
Effect 10: Liquid/Wave Text ⭐
Creative और eye-catching — unique और viral worthy।
Step-by-Step Process
Step 1: Text Setup
Text: Short word works best ("FLOW", "WAVE")
Font: Bold
Color: Deep blue या ocean colors
Step 2: Warp Effect Apply करो
Effects → Distort → Wave Warp

Settings:
→ Amplitude: 10-20px (wave height)
→ Frequency: 2-3 (waves per length)
→ Phase: Animated! (0° to 360°)
Step 3: Phase Animation
Wave Phase keyframes:
0s: 0°
2s: 360°

Result: Continuous liquid wave flowing through text
Loop: Set animation to loop
Step 4: Color Gradient
Text fill:
→ Gradient fill (not solid)
→ Blue to Cyan to Blue
→ Gradient animated (offset over time)

Combined: Liquid color flowing through text
Step 5: Refraction Effect
Duplicate text layer
→ Blur slightly
→ Blend mode: Overlay
→ Scale: 102% (slightly larger)

Result: Depth and liquid refraction illusion
Pro Tips — Text Animation Ko Better Banao
Pro Tip 1: Easing = Professional Look
❌ Linear animation: Robotic, mechanical
✅ Ease In/Out: Smooth, natural

Every keyframe पर easing apply करो:
→ Entry animations: Ease Out (fast start, slow end)
→ Exit animations: Ease In (slow start, fast end)
→ Bounce: Custom cubic bezier curve
Pro Tip 2: Anticipation Rule
Before main animation:
Slight opposite movement → Then main animation

Example (text flying in from left):
0s: Original position
0.1s: Slightly right (+10px) — anticipation
0.4s: Final position (from left)

This makes movement feel natural and weighty
Pro Tip 3: Font Pairing for Impact
Powerful combinations:
→ Heavy sans-serif + Light script
→ All caps bold + Thin italic
→ Different sizes (hierarchy)

For animations:
→ Simple fonts animate better
→ Complex scripts harder to read in motion
Pro Tip 4: Color Contrast is Everything
Text must be readable:
✅ White text on dark background
✅ Dark text on light background
✅ Neon on black
❌ Light on light
❌ Dark on dark

During animation: Even more important
(text is moving — less time to read)
Pro Tip 5: Less is More
❌ 5 effects on one text = Visual noise
✅ 1-2 effects well executed = Professional

Rule: One primary animation + One supporting detail
Example: Typewriter (primary) + Cursor blink (supporting)
Pro Tip 6: Timing Psychology
Entry: 0.3-0.5s (quick and impactful)
Hold: 1-3s (readable duration)
Exit: 0.2-0.4s (quick exit)

Title cards: 2-4s
CTA text: 3-5s (longer read time)
Export Settings — Best Quality
For Instagram/YouTube Shorts
Resolution: 1080×1920 (vertical)
Frame Rate: 30fps या 60fps
Quality: Highest
Format: MP4
Codec: H.264

Bitrate: High (4-8 Mbps)
For YouTube Horizontal Videos
Resolution: 1920×1080
Frame Rate: 24fps (cinematic) या 30fps
Quality: Highest
Format: MP4
For GIF (Loop Animations)
Alight Motion → Export → GIF
Resolution: 720px (smaller for GIFs)
Frame Rate: 24fps
Loop: Enable
Pro Export Tip
Export without watermark:
→ Alight Motion Pro subscription लो
→ या Project को free में export करो (watermark के साथ)
→ फिर CapCut में watermark crop करो

Best solution: Pro version worth it for serious creators
Common Mistakes — Text Animation Mein
❌ Mistake 1: Too Fast Animation
0.1s में text आ जाए और जाए → Viewer पढ़ नहीं पाता। Fix: Entry 0.4-0.5s, hold 2-3s minimum।
❌ Mistake 2: Too Many Effects
Glitch + Neon + Bounce + Wave सब एक text पर। Fix: Maximum 2 effects per text layer।
❌ Mistake 3: Wrong Font for Animation
Complex decorative fonts → Unreadable when moving। Fix: Bold, simple fonts for motion।
❌ Mistake 4: No Sound Design
Text animations without sounds feel empty। Fix: Add subtle whoosh, pop, or typing sounds।
❌ Mistake 5: Ignoring Mobile Preview
Looks great on desktop → Tiny text on mobile। Fix: Preview on actual phone before final export।
❌ Mistake 6: Linear Keyframes
Default linear = Robotic movement। Fix: Always add easing to every keyframe।
Resources — Free Assets for Text Animation
Free Fonts:
→ Google Fonts (fonts.google.com)
→ DaFont (dafont.com)
→ 1001 Fonts (1001fonts.com)

Free Sound Effects:
→ Freesound.org
→ Mixkit.co
→ Pixabay (audio section)

Free Music:
→ YouTube Audio Library
→ Mixkit.co
→ Bensound.com

Free LUTs/Color Presets:
→ RocketStock
→ FilterGrade (free section)

Inspiration:
→ Motion Array (watch free examples)
→ Pinterest: "text animation design"
→ Behance: motion graphics
Conclusion + Action Plan
यार, text animation सीखना एक valuable skill है — और Alight Motion इसे mobile से possible बनाता है।
इन 10 effects को master करने के बाद तुम्हारे videos genuinely professional level के लगेंगे।
Key Takeaways:
✅ Text Animation = Keyframes + Effects + Easing = Magic ✅ Typewriter = Easiest, most popular — शुरू करो यहाँ से ✅ Glitch = Gaming/YouTube content के लिए best ✅ Neon Glow = Dark theme content के लिए ✅ Kinetic Typography = Music + text = Viral content ✅ Easing हमेशा add करो — यही professional और amateur का फर्क ✅ Less is more — 1-2 effects per text
🎯 Action Plan — Aaj Se Shuru Karo
आज (First Session — 1 Hour):
- Alight Motion app download/update करो
- Typewriter effect practice करो (Effect 1)
- Export करो और खुद देखो
इस हफ्ते (One Effect Per Day):
- Day 1: Typewriter ✅
- Day 2: Fade In/Out (easiest)
- Day 3: Bounce/Pop
- Day 4: Neon Glow
- Day 5: Glitch Effect
- Day 6-7: Kinetic Typography (hardest — weekend के लिए)
इस महीने (Mastery):
- सभी 10 effects एक बार practice करो
- अपने YouTube/Instagram content में apply करो
- Personal templates बनाओ (save और reuse करो)
Advanced (Month 2+):
- Effects combine करना सीखो
- Original animations create करो
- Tutorial videos बनाओ (teach others = solidify your own learning)
याद रखो: हर pro creator भी beginner था। Practice करते रहो — 30 दिनों में transformation दिखेगा। 🎨
कोई सवाल है? Comment में पूछो — personally reply करूंगा।
